


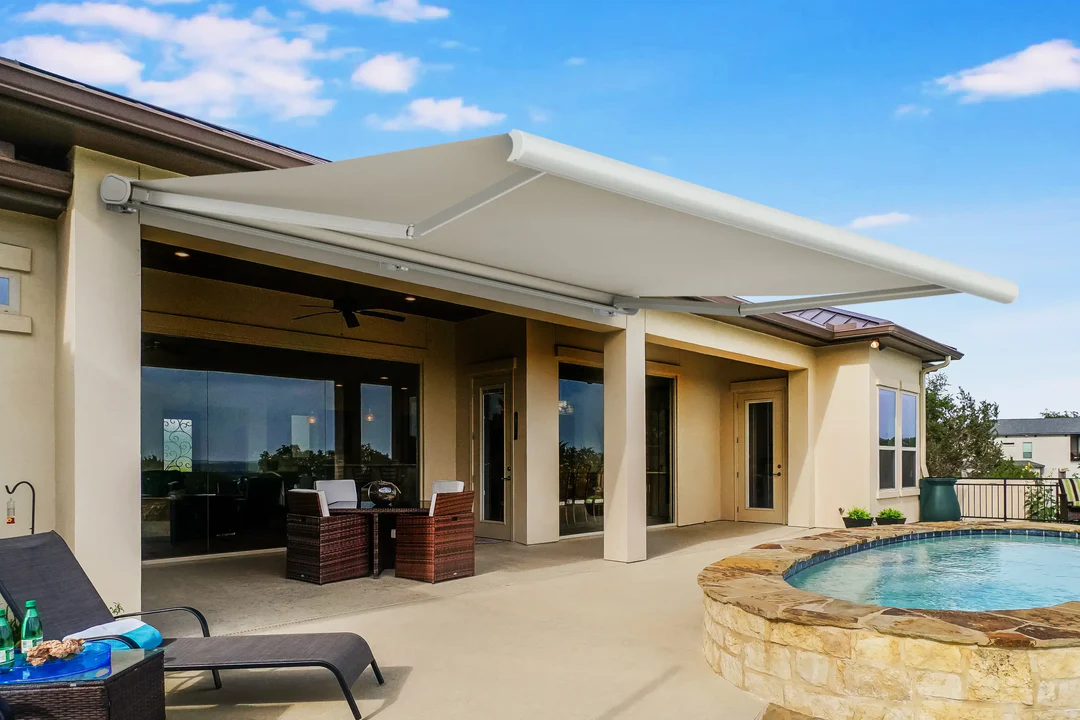
Four backyards, four installs. What professional pergola installation actually looks like.

There's a moment that comes for most people who buy a louvered pergola. The boxes have arrived, the patio is cleared, and somewhere between the manual and the toolbox, a small voice asks: am I really equipped to do all the prep work myself, even if the actual assembly only takes four hours?
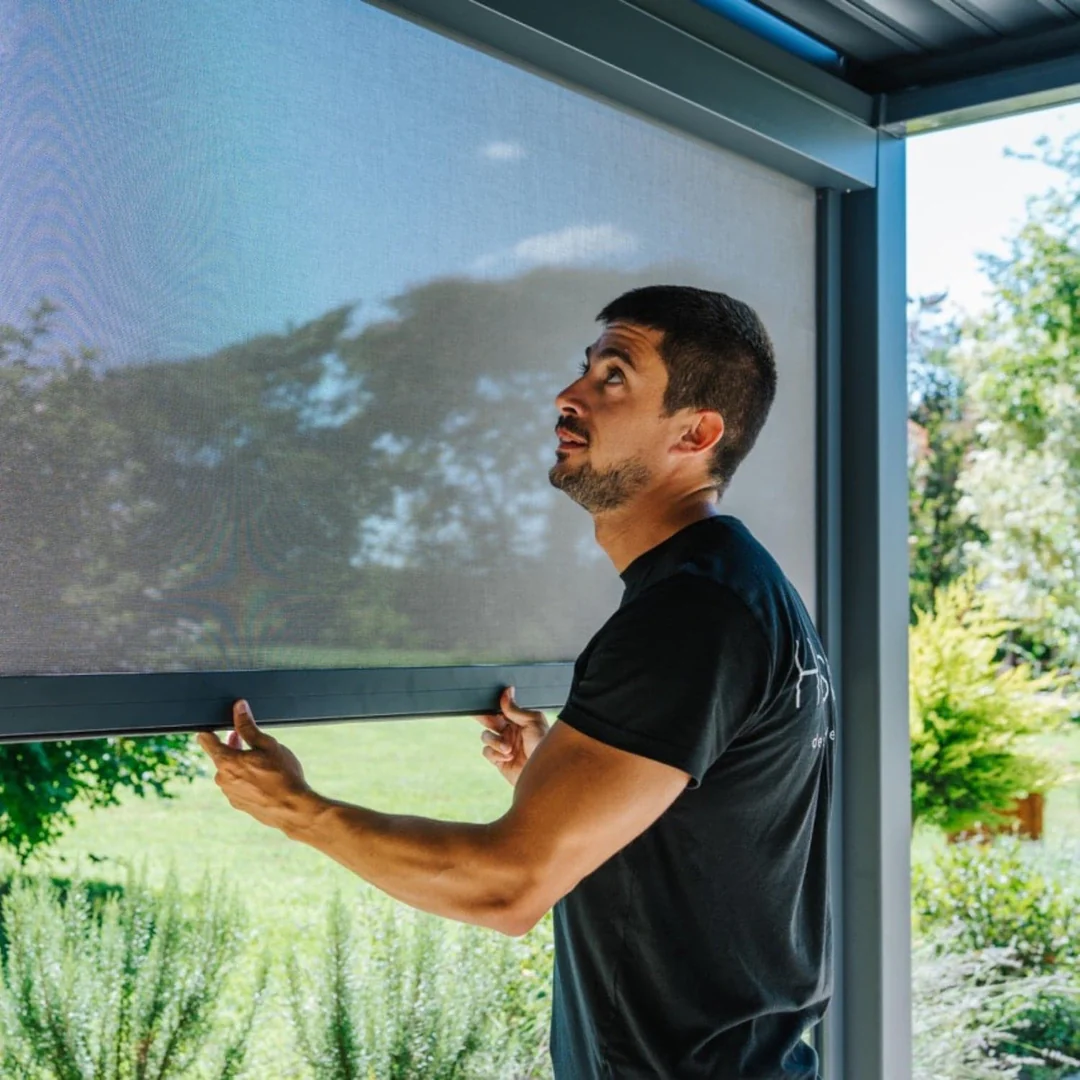
For thousands of Hansø customers, the answer is no. They tap "Professional Installation" at checkout and let our certified installer network take it from there: site assessment, assembly, motor and louver testing, final adjustments, and the kind of cleanup that lets you walk straight outside the next morning with a coffee in hand.
Below are four of those installs, all of them the same product (the Hansø PRO+ Aluminum Pergola Kit), all of them in different climates, different houses, with different reasons for wanting more of the outside indoors. The pergolas are ours. The backyards are theirs.
Sandy: three crews, one afternoon
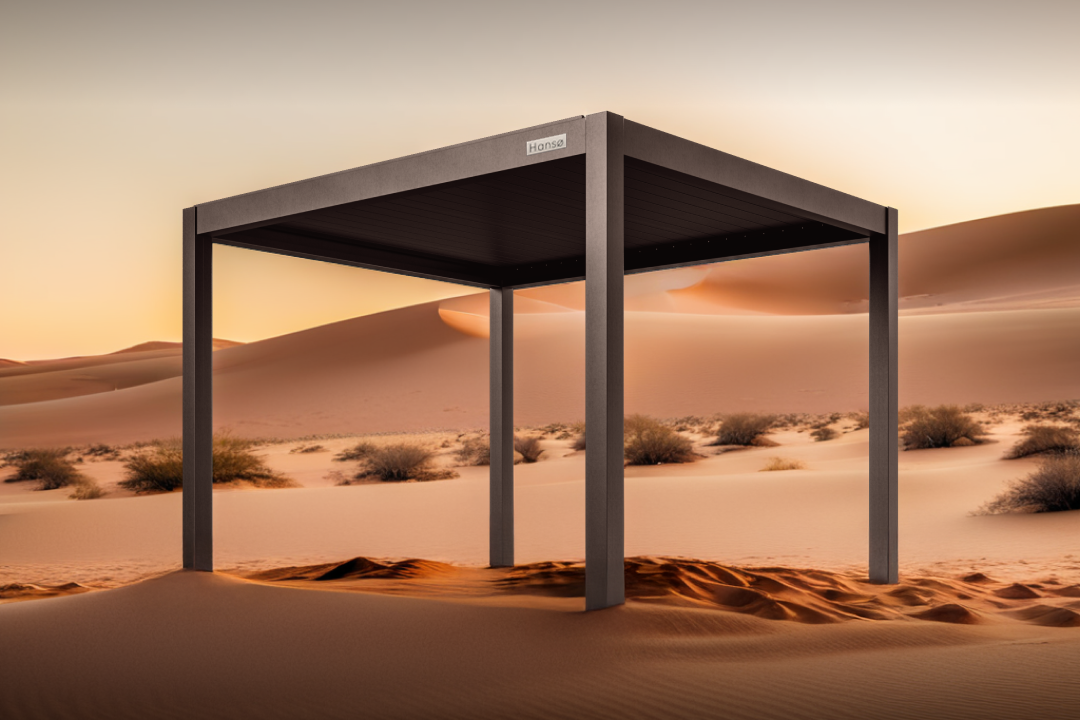
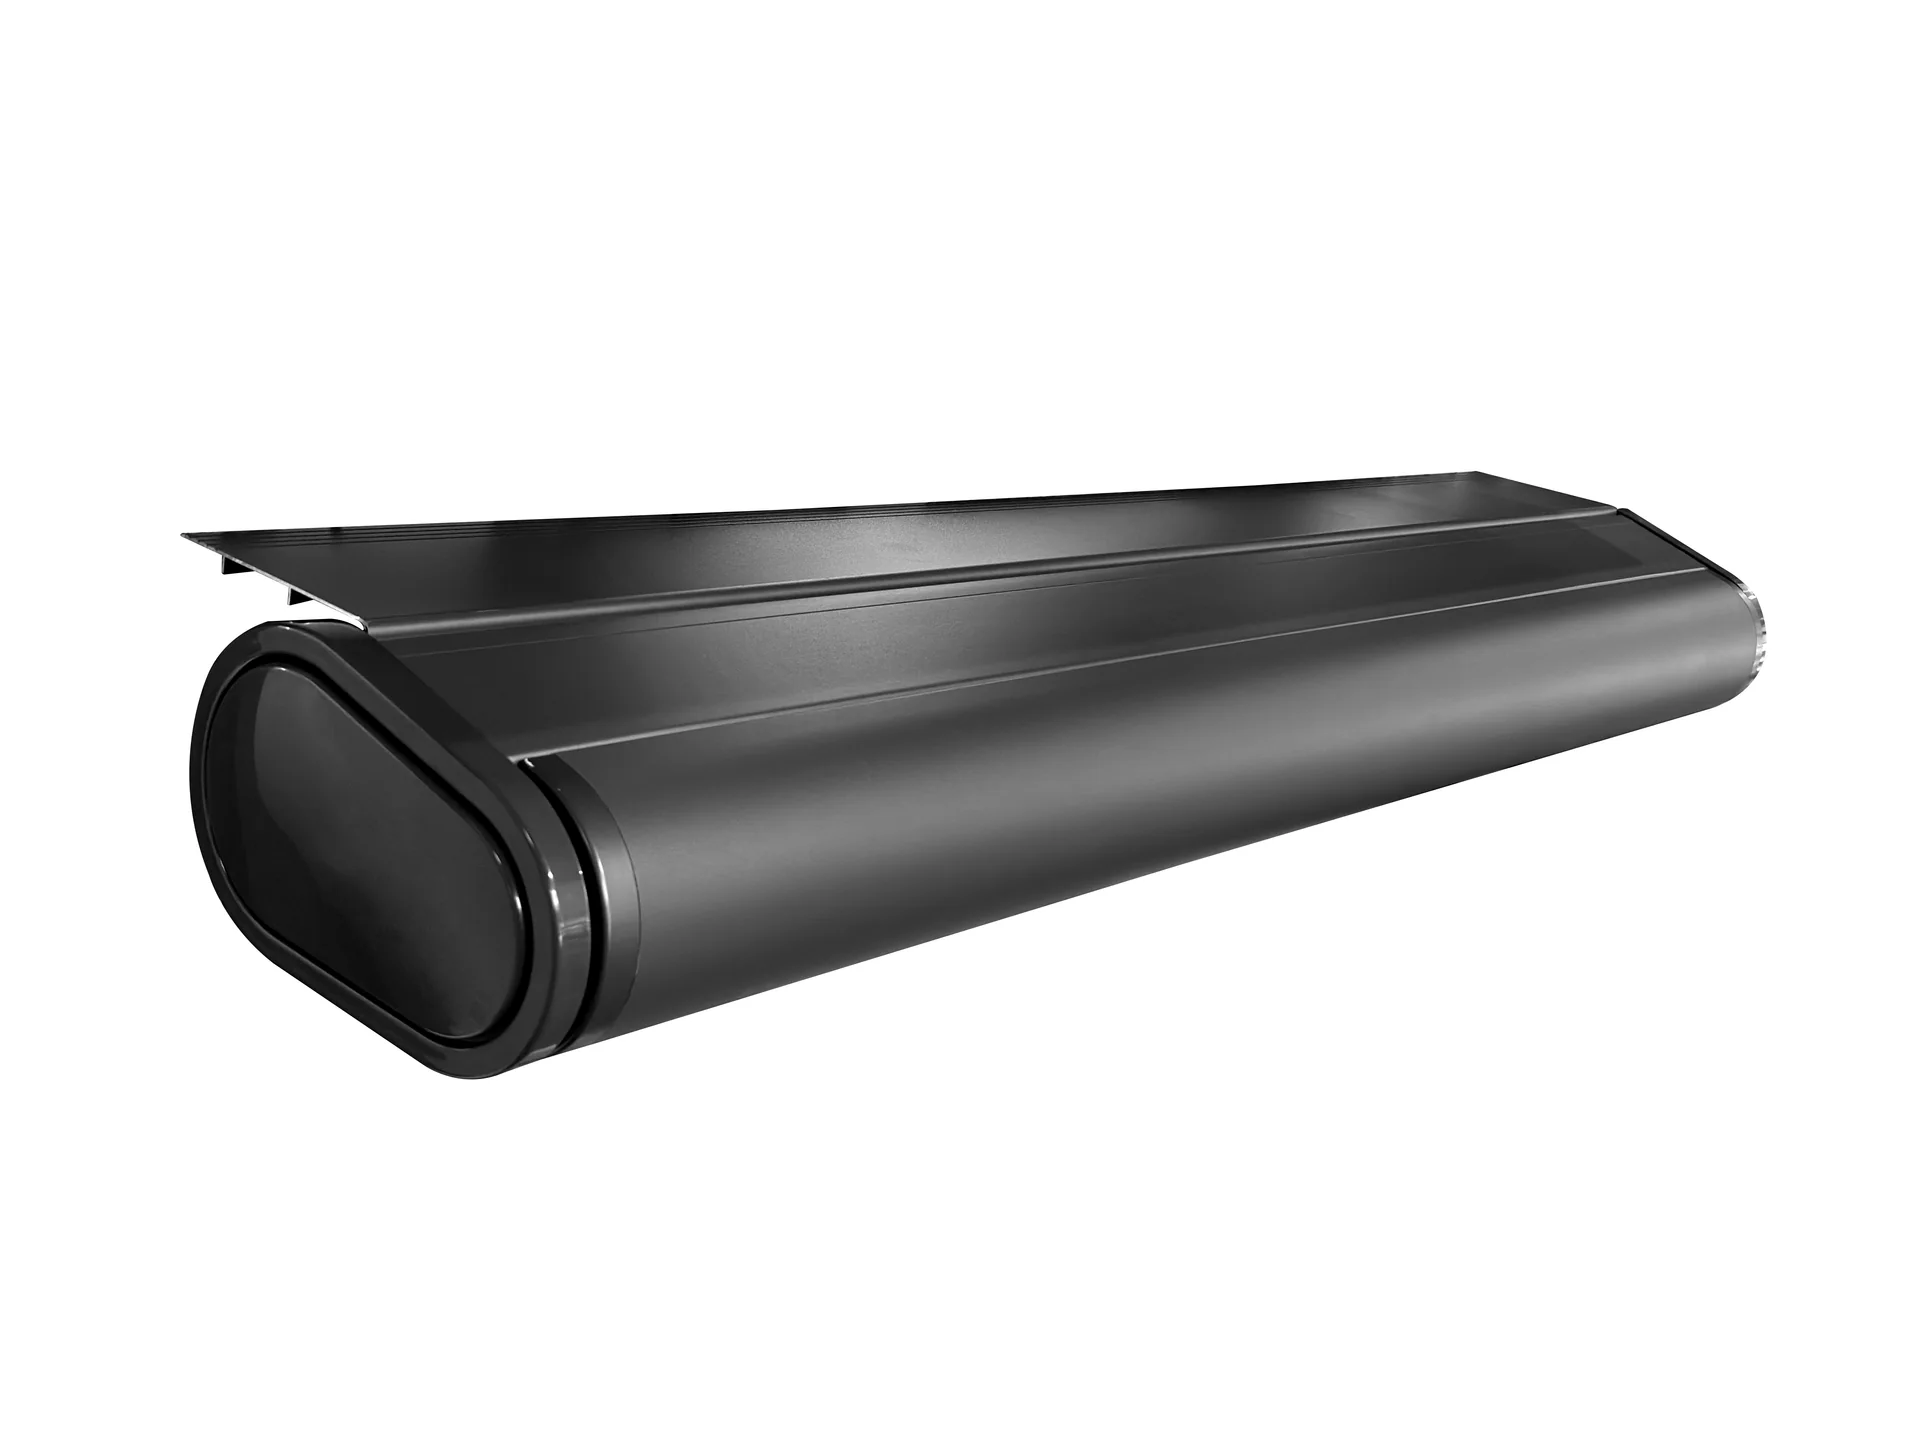
PRO+ Aluminum · Freestanding · Dark Grey

There's a single photo from Sandy's install that does most of the work this whole article is trying to do. Three installers, one on a blue ladder, one on a red ladder, one crouched at the patio door, finishing the corner posts on a freshly-erected freestanding pergola. Fresh-dug clay still piled around the base anchors. Late-afternoon clouds in a winter sky. Tools spread across the lawn in that organised-chaos way of a job that's nearly done.
If you've ever wondered what "white-glove installation" actually buys you, this is the picture. Three trained people, on the right ladders, with the right tools, working at the same time. Not a contractor and a helper. A crew.


By the time they were done, the dark grey freestanding pergola was levelled, anchored, sealed against the new patio, and the lawn was cleaned of every offcut and screw. Sandy got a pergola; what she also got was an afternoon back from her life.
Want a crew like Sandy's at your place? Get a quote for professional installation
Mark: white louvers under an open sky
PRO+ Aluminum · Wall-Mounted · White

Most PRO+ pergolas in the Hansø catalogue go out in dark grey. It's the safe choice, the "matches anything" choice. Mark went a different direction with the same kit, and chose white. Under the kind of cloudless sky he gets out his back door, the louvers turn into something closer to architecture than awning.
The crew arrived on a clear morning and bolted the system directly to the back of his pale grey clapboard home. There's a photo from mid-install, taken looking straight up: the louvers tilted open just enough to slice the sky into clean stripes, a single ladder still in the right edge of the frame. By the time the photographer stepped back for a wide shot, the patio was clean, the tools were packed, and the whole thing looked like it had been there since the house was built.


That's the test, really. A good install doesn't announce itself. It looks inevitable.
Considering a wall-mounted pergola? Talk to our install team about your space
Donna: wall-mounted in the autumn light
PRO+ Aluminum · Wall-Mounted · Dark Grey

Donna's pergola was always going to be a wall-mounted one, bolted directly to the back of her dark blue clad home so that stepping out the back door felt less like leaving the house and more like extending it. The crew arrived during peak autumn, with the oaks behind her fence turning every shade of copper and ember.
There's a photo from that day, taken from inside the half-built frame, that shows the install in progress: a single dark grey beam cutting across burnt-orange leaves, a wagon wheel propped in the garden bed, a neighbour's roofline in the distance. Real, ordinary, unstaged.


By dusk, the louvers were on, the ladders were still up, and the porch lights had come on inside. A few days later, Donna sent a shot from underneath at night, with the louvers angling toward a full moon. She'd already started using it.
Picturing your own back door extending into a pergola? Request a custom quote
Rebecca: when the site needs more
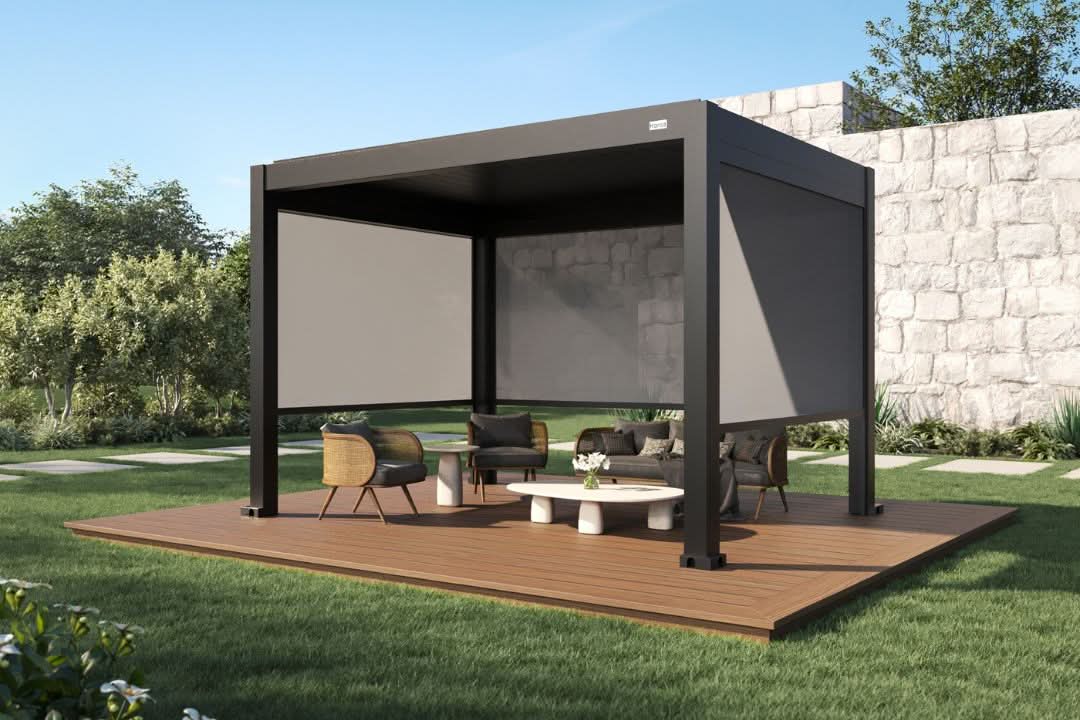
PRO+ Aluminum · Freestanding with Screen Panels · Dark Grey

Rebecca lives somewhere green. The kind of place where the grass stays green ten months of the year and the trees behind the lawn have been there longer than the house. Her freestanding PRO+ went onto a brand-new raised deck the crew helped scope before installation even began. Her install is a useful one to talk about, because it didn't follow the standard playbook.
When the site assessment flagged that the soil and deck conditions called for a proper foundation, the project added concrete footers: footer locations marked and verified, holes dug to depth, mix poured and consolidated, anchors set after curing, level and square checked at every stage. Hansø's checklist runs to dozens of line items for installs like these. Every one of them got walked through.


The finished pergola has zip-down screen panels (privacy on three sides, an open view to the lawn) and sits next to a hot tub on a deck that didn't exist a few weeks earlier. Rebecca's project is the version of professional installation people don't usually picture: not just assembly, but the entire ecosystem of decisions that make the pergola feel like it was always meant to be there.
Tricky site? Sloped yard? Concrete needed? Tell us about your site and we'll scope it
Frequently asked questions
Which Hansø products is professional installation available for?
Professional installation is available for Pro+ Pergolas (both freestanding and wall-mounted), Master+ Pergolas, Horizon Pergolas, and Awnings.
How is professional installation priced?
Pricing varies based on product type and size, site conditions and complexity, and your location. The team provides a custom quote after reviewing your project details. Service availability may vary in remote or rural areas.
Do I need to prepare the site before the crew arrives?
Yes, a few things help make installation day go smoothly:
- The installation surface should be level and suitable for mounting.
- If you have a motorised system, a power source should be available.
- The installation area should be cleared for safe and easy access.
- Someone needs to be present on-site to review and sign off on the completed work.
Is concrete pouring included?
Concrete pouring is not part of the standard professional installation service. When a site requires concrete footers, the work is arranged and quoted separately during site assessment. Installers also don't modify existing structures unless arranged in advance.
What happens after the install is finished?
The crew completes a final quality walkthrough with you on-site: every bolt verified, the roof tested through full open and close cycles, the structure checked for any scratches or damage, and the customer asked to sign off. From that point on, the install is covered by a 30-day workmanship warranty, and Hansø remains your point of contact for product, warranty, and after-sales support.
Ready when you are
Professional Installation is available for Pro+ Pergolas (freestanding and wall-mounted), Master+ Pergolas, Horizon Pergolas, and Awnings. Pricing varies with product, site, and location. The team will provide a custom quote after reviewing your project.
Request a Quote

